5 Easy Fixes to Improve Your Guitar

This is a guest post by Josh Summers. Josh has been playing guitar for over 25 years. He writes about what he has learned playing, fixing and buying guitars on his popular Guitar Adventures site. You can also follow him on Twitter and Facebook.
I'm extremely proud of my guitar. It's certainly not the most expensive guitar on the market nor is it produced using any rare woods. But it is my guitar and nobody knows every knick, scratch and peculiarity better than I do.
I suspect most guitarists are probably the same. It doesn't matter if you own a $100 guitar or a $10,000 guitar, you want to make it sound and look like the invaluable piece of workmanship you believe it to be.
Thankfully, there are a number of quick fixes you can make to your guitar that can have drastic changes on how it looks and feels. Some of these fixes won't be necessary depending on the quality of your guitar but all of them are good to know for possible future use.

#1 Change the Tuning Heads on Your Guitar
- Cost: US$40-$50
- Time: 30 minutes
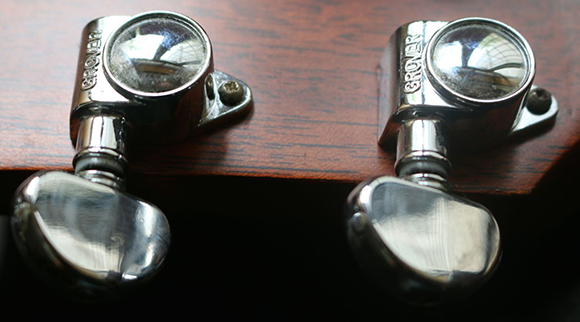
In order to keep prices low in the budget guitar category, many guitar manufacturers swap out premium parts for lesser alternatives. Most of the time this makes little noticeable difference but there is one part I think is worth a change: the tuning heads.
Tuning a guitar is a skill that every guitarist should learn, but precision tuning and staying in tune should be a characteristic of every good guitar. There are a number of factors that affect tuning including changes in humidity, but in my experience the primary culprit in lower-priced guitars are the tuners.
The good news is that changing the tuners is quite simple and not as expensive as you might think. Grover makes some of the best tuning heads on the market and a quick change can be made in as little as half an hour.

#2 Adjust the Action on Your Guitar
- Cost: Free
- Time: 15 minutes
The "action" of the guitar can be loosely defined as the distance between the strings and the fret board. The closer the strings are to the fret without causing buzz, the easier to play. While most new guitars arrive from the factory with excellent playability and no need to adjust the action, you may still find reason to adjust the action down the road.
Perhaps changes in humidity will warrant an adjustment of the truss rod or maybe a change in string gauges will make you want to lower the action. Whatever the case, this is a simple fix that is worth having in your back pocket.
The two simplest ways to adjust the action on your guitar are detailed below:
- Adjust the Truss Rod: Adjusting the truss rod usually requires an Alan wrench (the bolt is on the headstock for most electric guitars and inside the sound hole for most acoustic guitars). Adjustments should be made carefully since a snapped truss rod is an expensive repair. Turn the wrench clockwise to adjust the fret board closer to the strings. Make small adjustments and check for any buzzing. If buzzing occurs, reverse the adjustment.
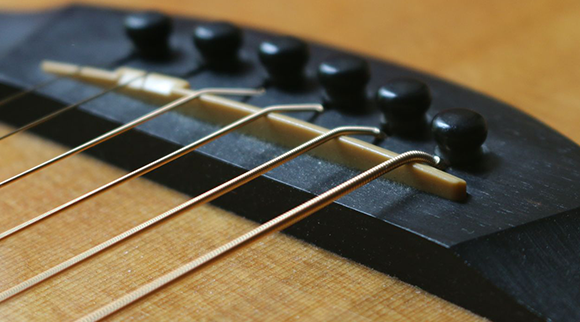
- Sand Down Your Saddle: In many cases, adjusting the truss rod doesn't help. In those instances where your guitar neck is perfectly straight but the action is still too high, sanding down your saddle is a great option. The saddle is the piece of bone near the sound hole. Sanding down is quite effective but you must be careful not to sand too much, otherwise buzzing occurs and you'll need to buy a new saddle. Thankfully, they're not that expensive.

#3 Upgrade Your Guitar Electronics
- Cost: $20-$200+
- Time: 1-2 days
Switching out electronic hardware may seem scary at first but in reality it’s an incredibly fun learning exercise that will immediately create a deep bond between you and your guitar.
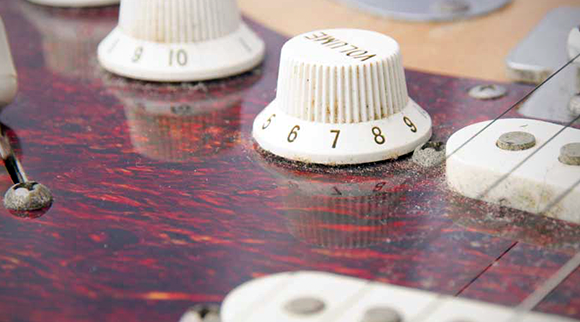
On an acoustic guitar this could mean installing a pickup where there is none or upgrading your onboard interface. For electric guitars there are more options for upgrade, including the pickups, pots, and switches.
The options for upgrade and variety of hardware available are too many to explore in-depth here. Instead, I recommend making a visit to your nearest guitar store where they no doubt carry many types of electronic upgrades. They can advise you as to how to install and in most cases could make the install for you for a fee.

#4 Change Your Strings
- Cost: $5-$15
- Time: 15-30 minutes
This seems like a no-brainer tip, right? You'd be surprised at how many people fail to realize how much of a difference a new set of strings can make.
As a reference, it is not uncommon for a professional guitarist to change their strings after each gig. Personally, as a guitarist who plays the guitar daily and has moderately oily fingers, I change my strings approximately every two weeks. For most guitarists who only play a few times a week, you can probably get away with changing your strings every month or two.
Bottom line: if your strings haven't been changed in over 3 months, no matter how often you play, stop reading this, go to the guitar store now and buy some new strings. Your guitar deserves it.
#5 Clean the Fret Board
- Cost: Free-$5
- Time: 10 minutes
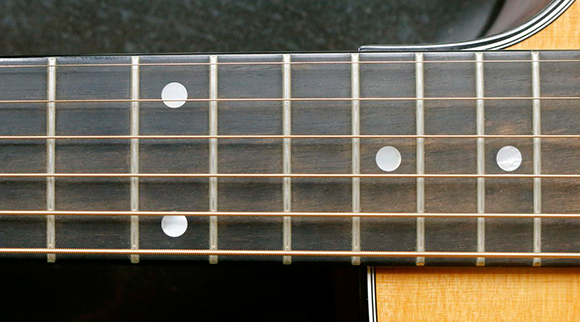
While most cleaning of a guitar is done for purely cosmetic purposes, working on your fret board has additional benefits. Not only does a clean fret board look good, it also helps to prolong the life of your strings.
Thankfully, cleaning a guitar fret board is quite simple. The best time to do so is while you're changing your strings. Take all of the strings off your guitar (don't worry, contrary to what you may think, this won't hurt your guitar) and grab some guitar cleaner and steel wool. You can find more details on how to clean a guitar here but it’s really quite simple.
If you don't have guitar cleaner you can use lemon oil or even just plain water and I've used a new toothbrush in place of steel wool. Gently scrub the fret board, particularly next to the frets where most of the buildup happens. Getting rid of this gunk will not only make your guitar look cleaner, it will likely prolong the life of your strings.

